Making a New Garden? Start Small.

You may have visions of drifts of color, wildflower prairies or bushels of tomatoes, but get your feet wet first, with some gardening basics. For flower gardens, choose a site close to the door or with a good view from a favorite window. Place your garden where you'll see and enjoy it often. This will also motivate you to garden more.
The front lawn shown here is small, but the homeowners still found an attractive, sunny spot to add some color and curb appeal. No matter how busy they are, they can enjoy their garden every time they pull into their driveway or look out their front window.

Evaluate and Choose a Site
If you have your heart set on growing a specific plant, check to see what growing conditions it requires. Vegetables will need at least 6 hours of sun exposure a day. The same goes for most flowering plants, however, there are still many to choose from for a partially shaded site. If you want to start a garden where there is mostly shade, your choices are going to be more limited, but not prohibitive.
The folks in this picture have a partially shaded front entrance. They could easily add a small garden along the walkway where they could enjoy it, making their entrance more of a focal point.
Also, take into consideration when the sun hits your site. Afternoon sun will be hotter and more drying than the morning sun. Many plants turn their faces toward the sun, so if your view of the garden is from a west window, your flowers may face away from you in the afternoon. Evaluate other elements of exposure such as high, drying winds or heavy foot traffic.
Once you know where you'd like to try your first garden, use a hose or extension cord to try laying it out on the ground.
How's the Soil?
Once you know where you want to plant, it's time to check the soil. Soil testing is the least glamorous part of gardening, but the most important. At the very least, check your soil's pH. This will tell you how acid or alkaline your soil is. Plants cannot take up nutrients unless the soil's pH is within an acceptable range. Most plants like a somewhat neutral pH, 6.2 - 6.8, but some are more particular. If you are growing plants from the nursery, check the plant tag for specifics. If no pH preference is listed, a neutral range is fine.
You may also want to check the texture of your soil or even the nutrients and minerals in it. You can have that done at your local Cooperative Extension office and some nurseries. Soil texture refers to whether it is sandy, heavy clay, rocky or the ideal, a sandy loam. Whatever the texture, it can be improved with the addition of organic matter such as compost.

Prepare the Bed
This is no one's favorite garden chore, but there's no way around it. Your chosen site will probably have grass on it or at least weeds. These must be cleared somehow before you can plant anything. Tilling without removing the grass or weeds is best done in the fall so that the grass will have a chance to begin decomposing during the winter. Even so, you will probably see new grass and weeds emerging in the spring. It's better to either remove the existing vegetation completely or to smother it.
A sharp flat-edged spade can be used to slice out the sod. If you have poor soil and need to amend it with organic matter or other nutrients, removing the sod may be your best bet, so that you are able to till in the amendments.
Removing sod can be heavy work and you wind up losing good top soil along with the sod. If your soil is in relatively good shape, it is possible to leave the grass in place and build on top of it. Place a thick layer (8-10 sheets) of newspaper over the garden bed and wet it thoroughly. Then cover the newspaper with 4-6 inches of good soil. The newspaper will eventually decompose and the turf and weeds will be smothered. There may be some defiant weeds that poke through, but not so many you can hand weed them.
Starting with good soil means you won't have to add a lot of artificial fertilizer to your garden. If you've fed the soil with amendments, the soil will feed your plants.
Choosing What You'd Like to Grow
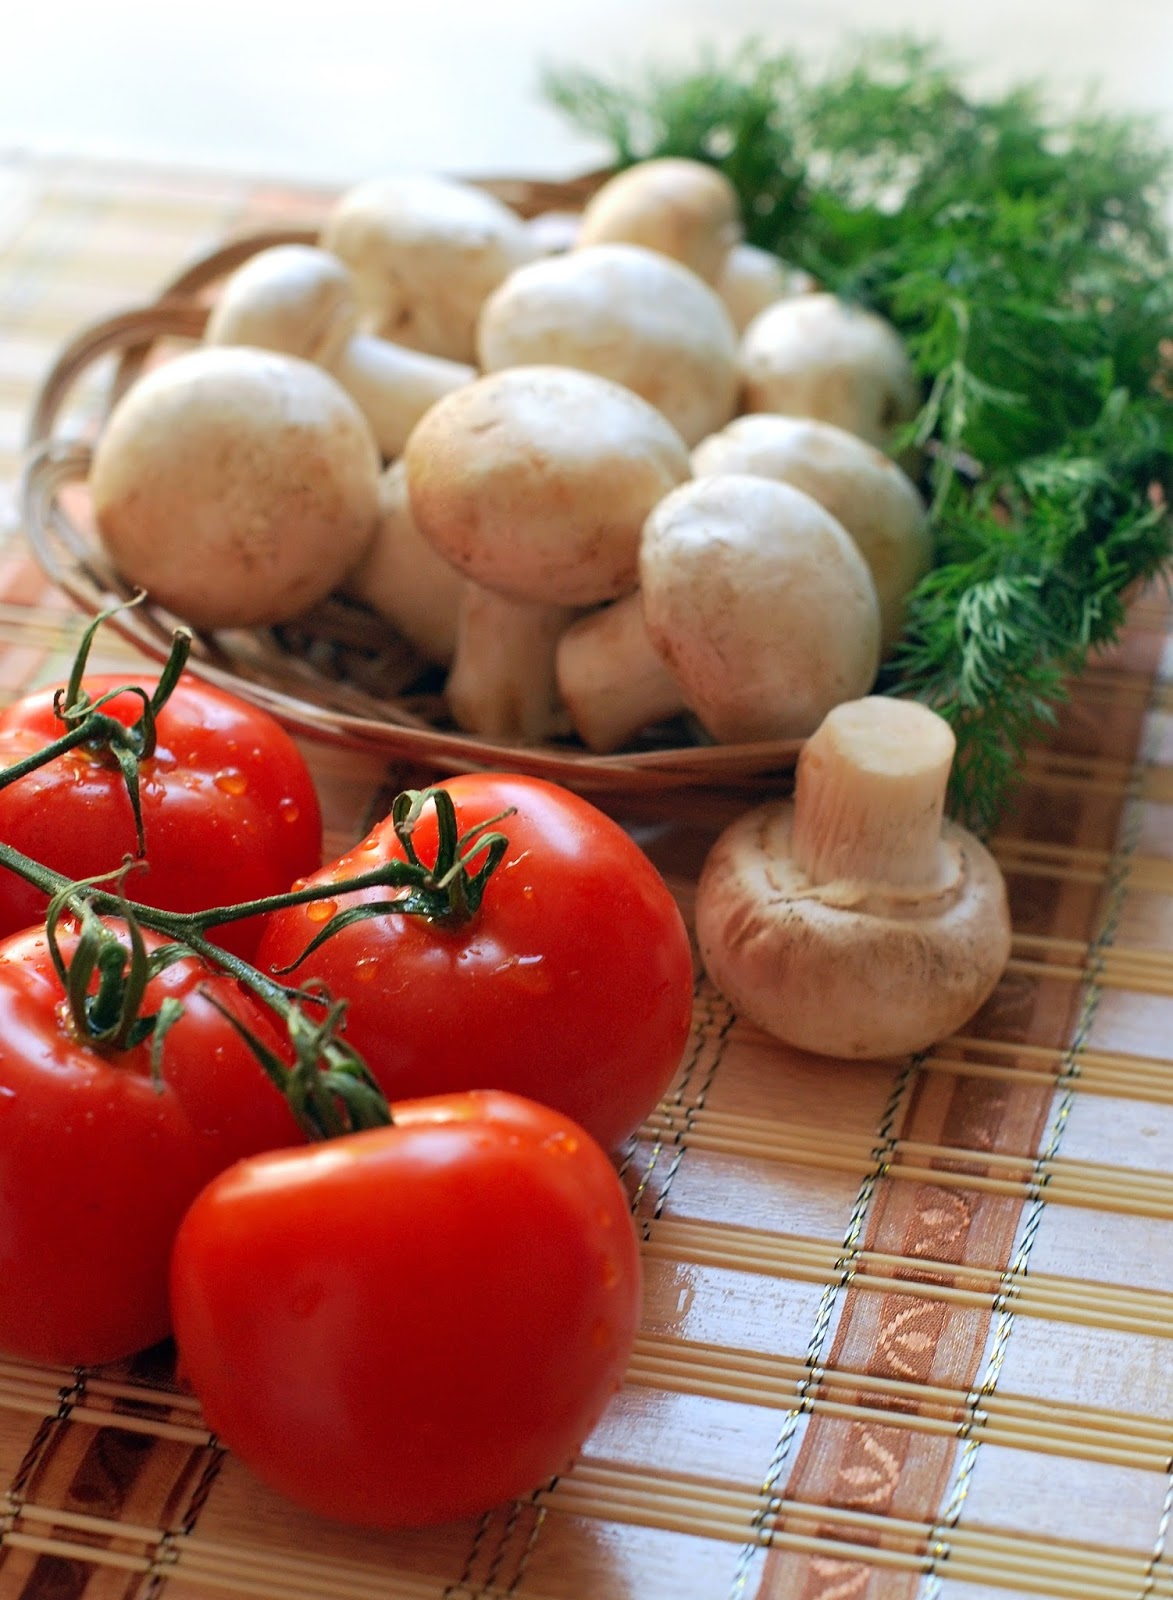
This is harder than you might think. If you are starting small, you have to limit yourself to a handful of plants. If you are growing vegetables start with what you like to eat and what you can't find fresh locally. Corn takes a lot of space and remains in the garden a long time before it's ready to be eaten. If you have corn farms nearby, you might want to use your small garden for vegetables that give a longer harvest, like tomatoes, lettuce, and beans.
Flower gardens can be even harder. Start with what colors you like. Rather than basing your dream on a photograph from a magazine, take a look at what your neighbors are growing successfully. They may even be able to give you a division or two.
Take a walk around a couple of garden centers and read the plant labels. Then play with combining the plants that strike your eye until you find a combination of 3-5 plants that pleases you. Make sure all the plants have the same growing requirements (Sun, water, pH...) and that none of them are going to require more care than you can give them.
Keep the variety of plants limited. It makes a better composition to have more plants of fewer varieties than to have one of this and one of that.
Planting

Sometimes you have to plant when you have the time, even if that's high noon on a Saturday. But the ideal time to plant is on a still, overcast day. The point is, stress your new plants as little as possible.
- Water the plants in their pots the day before you intend to plant.
- Don't remove all the plants from their pots and leave them sitting in the sun for the roots to dry out.
- If the roots are densely packed or growing in a circle, tease them apart, as shown in the photo, so they will stretch out and grow into the surrounding soil.
- Bury the plant to the depth it was in the pot. Too deep and the stem will rot. Too high and the roots will dry out.
- Don't press down hard on the plants as you cover them. Watering will settle them into the ground.
- Water your newly planted garden as soon as it is planted and make sure it gets at least one inch of water per week. You may have to water more often in hot dry summers. Let your plants tell you how much water they need. Some wilting in noonday sun is normal. Wilting in the evening is stress.
Mulch
You hear a lot about mulching lately, but it really does make a major difference in a garden. Mulch conserves water, blocks weeds and cools the soil. Organic mulches like shredded or chipped bark, compost, straw and shredded leaves, will also improve the soil quality.
 Plastic mulches are nice in a vegetable garden to heat the soil around warm season crops like tomatoes, peppers, melons, and squash.
Whatever mulch you choose, apply it soon after planting, before new weeds sprout. Apply a 2-4 inch thick layer of mulch, avoiding direct contact with the plant stems. Piling mulch around the stem can lead to rotting and can provide cover for munching mice and voles.
Label Your Plants and Keep Garden Records

Keep a record of what you have planted or, better yet, keep the labels that came with your plants. This will help answer any questions about what the plant may need if it starts looking poorly and will remind you next year of what you liked and what didn't work. It also helps to take pictures and label them. You'll remember color combinations and favorite plants.
If you start a garden journal, you can also record how plants perform, when flowers are in bloom, how large a harvest was and all kinds of information that will help you make a better garden next year.°
Enjoy! You've Created Your First Garden.
You've heard the saying "Stop and smell the roses"? Gardeners can be the worst at taking that advice. We're so busy with our heads down at soil level, pinching, pruning and pulling every weed, that we often don't appreciate what we've created until someone else tells us.
Step back and enjoy what you've accomplished. Then start making plans to expand next year.

Komentāri
Ierakstīt komentāru